Well hello there! I’m so excited to show you our entryway today! Even though we’d been doing the exterior project, I couldn’t really do anything but watch so I took on a quick for-now makeover of the entryway. *This post contains affiliate links.
To fully appreciate what it looks like now, here’s what it looked like the day we moved in.
For a little while we had the green door (SW Fresh Balsam) and while I loved it, from the outside it was too dark for the shaded house.
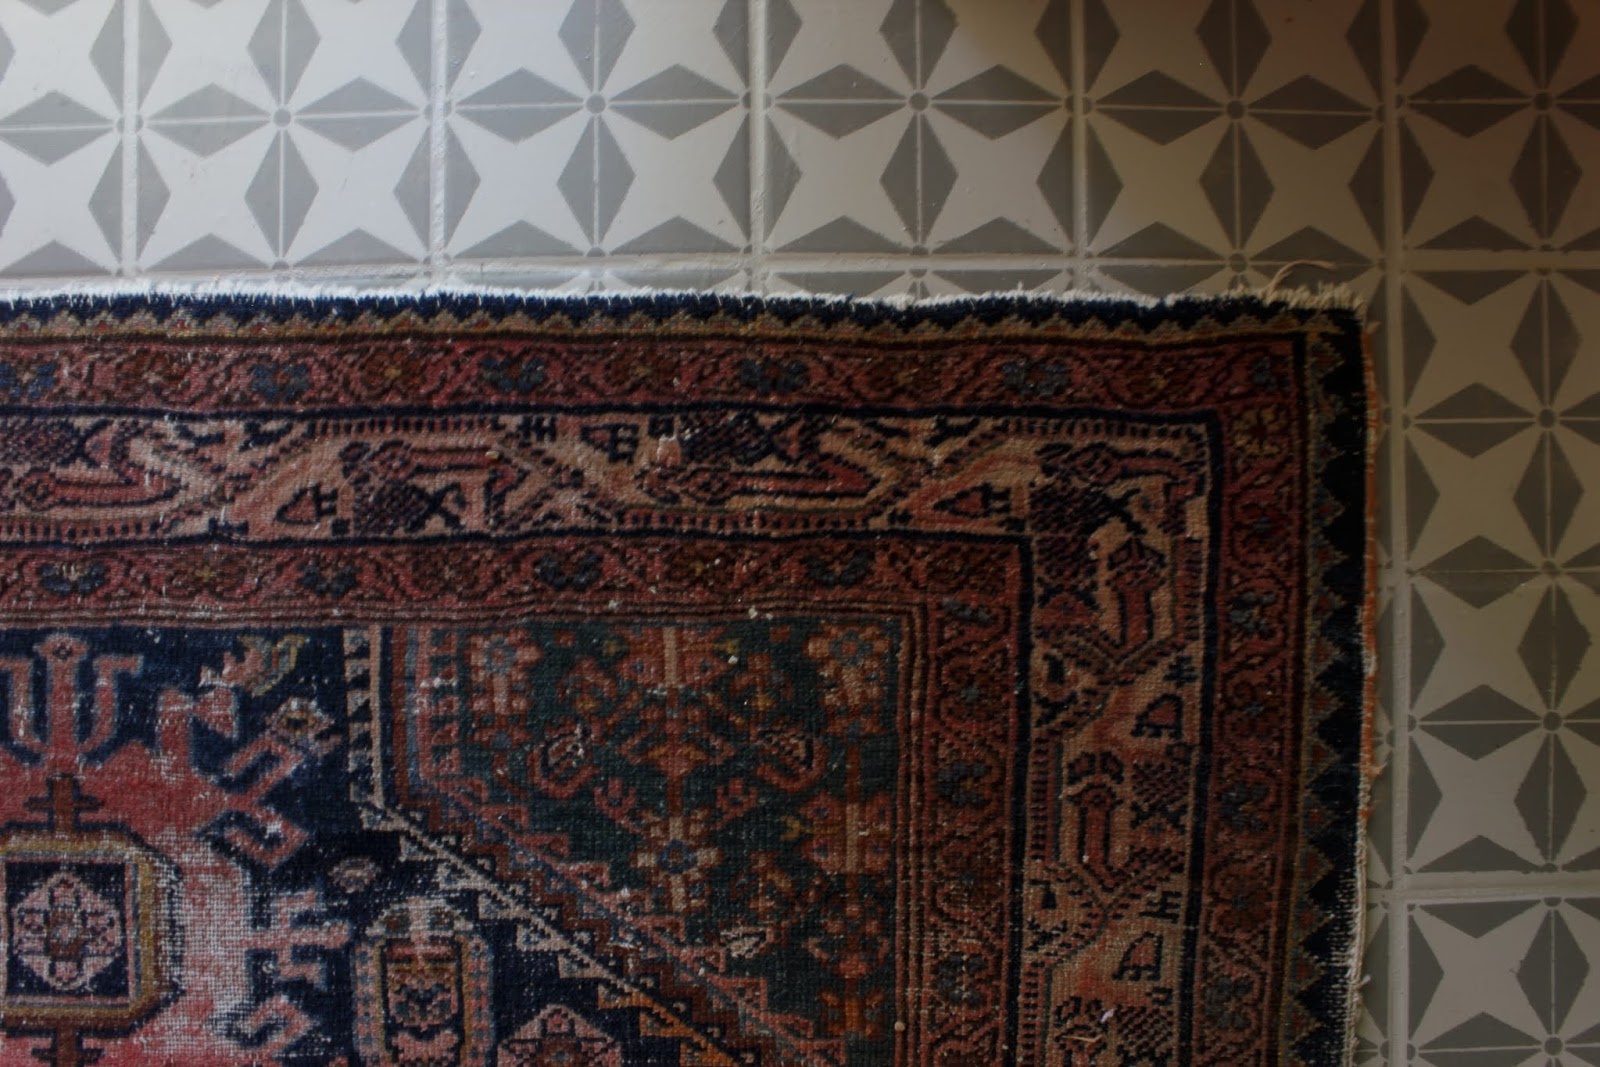
The tile isn’t what I want but I’m not interested in gutting it yet. It sounds too tiring, dusty and expensive so I thought this would be a perfect opportunity to try painting it.
First I scrubbed the floor really well. There’s a super helpful tip at the bottom that I would use here. Make sure and keep reading. I primed it with this Kilz Adhesion Primer.
We used a product like it on the oil based paneling in our old house but I forgot about it until an Instagram friend, Laura @makingourhaven used it to completely overhaul her bathroom. I’m talking floors. In a bathroom. That gets wet…. She showed a video where she was scraping it with her fingernails and nothing was happening. SCORE!
I painted 2 coats of primer and gave it a while to dry. By ‘a while’ I mean a couple weeks. That’s little bit overkill (it needs 2 hours) but we had a lot of rain and I just didn’t have the energy to do it while my family needed to come in and out with wet boots on.
After that I gave it two coats of the base color. I used the same sample paint from the stencil in our mudroom. The color was closest to the concrete floors everywhere else in the livingroom. Sherwin Williams ‘mega greige.’
Then I used this brush and the pinwheel stencil from Royal Design Studio Stencils. I chose the 6″ one because that’s the size of the tiles I was covering.
I skipped tiles so that the one before has a little time to dry before I overlapped it.
It was a lot of up and down. I rinsed and cleaned the stencil every 10 or 20 squares just so that dried paint wouldn’t come off onto the floor.
I took a time lapse of the painting process. It probably took 2 hours from the start of using the stencil to painting on the clear top coat. That’s $30 in supplies (I already had the paint colors, top coat and stencil brush) and a few hours… so worth it for pretty floors while we fix up more pressing spots in our home.
SUPER HELPFUL TIP: Once the “tiles” were dry I did some touch up work with a tiny brush then attached a microfiber cloth to our swiffer to clean off anything that may have found it’s way onto the floors. I didn’t think about this specific problem solving idea until this step. It would have been helpful after cleaning the floors before the primer and on every step after.
2 thoughts on “Stenciled Floor and Entryway Updates”
I love this look! Absolutely adorable tile pattern. Also, what brand/gray are your walls? I like that shade and am looking for a light gray for my walls. Thanks!
Wife and mom in Texas. Making homes a little bit prettier whenever I can. Sharing tips and tricks to help you do the same. ‘How to House Homemade’ ebook out now! Read more…


I love this look! Absolutely adorable tile pattern. Also, what brand/gray are your walls? I like that shade and am looking for a light gray for my walls. Thanks!
Thank you!! It's sw mega greige and worldly gray