Talk about bang for your buck! A few weeks ago I found a vintage door I wanted to use for our pantry/ laundry room. I wanted glass because I didn’t want to block natural light but I didn’t want to necessarily see everything in our highly used, hard working space. So I obscured the glass DIY style. You’ll want to know about this cool stuff. I had to show you.

The dilemma
I previously used frosted glass film in our entryway which was helpful but also, because its white and not clear, it blocked a lot of light too. So I hopped on pinterest and started looking for alternatives. A mere 10 DOLLARS later, I found the best solution to a beautiful, obscured glass door.
The solution
Gallery Glass crystal clear window “color” is basically watery mod podge that can be painted on glass and cures to be cleanable. I got a few responses from people who recognized it from when their mom used it for faux stained glass in the 90’s. This may make you feel like it’s outdated but I feel like, ” it’s tried and true!!”


Application
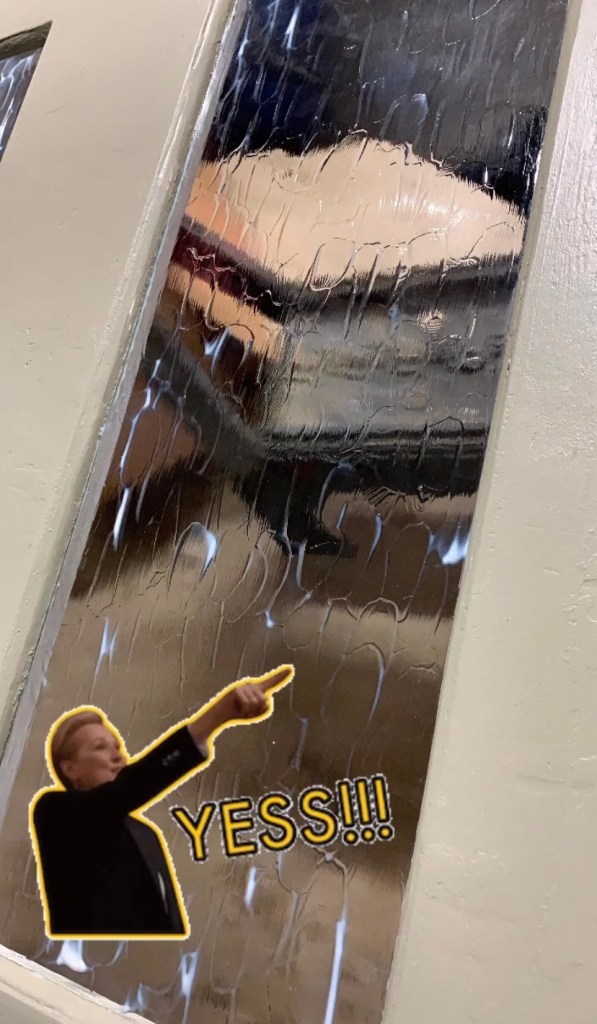
I wanted a textured, leaded glass kind of feel so I added glue to the surface of the windows and used my finger to make overlapping dashes?, fingerprints? oval shapes? into the glue.
Tip: application is WAY easier on a horizontal surface so I’m glad I did this before the door was hung.

I made sure to make my marks all vertically so it had a little cohesiveness but the overlapping made them feel a little more organic.
As the glue started to dry, some of the white spaces started to clear up. At first, I said I’d be patient and wait for the first 2 panes to dry but I already knew I loved it so much (and I’m extremely impatient) so I kept going.

I loved it so much, in fact, that I ripped off the frosted glass film on the front door side lights and started doing the same process on these windows too.
This is how I know that applying to vertical surfaces is a little more challenging but still totally worth it.
1. apply the glue

2. spread the glue

3. make the pattern you like

4. let dry

The bottom window still has the frost film. See how much more light comes in with the clear glue?

While the pantry door was to obscure the view and not for privacy…I prefer more privacy here so, the next day, after the first coat was dry, I put some of the glue on a brush and did a layer of vertical texture lines. It was enough so that I felt comfortable about taking off the film.
The verdict
I love how it turned out. It lets in light and hides the potential messes.

Five stars. Would recommend.
Questions
Is it easy to clean? So far so good. It’s also way more forgiving that regular glass where you can see every finger print so, there’s that.
If you mess up or dont like it can it be removed? This, I’m not sure. I would think it can be scraped off with a razor blade but that doesn’t sound very fun. Maybe test it on cheap picture frame glass first.
Can you use this in a bathroom? I’m not sure about that either. I wouldn’t use it on a window in a shower or a glass shower door…Unless its a very temporary fix. It could work on a window in the bathroom.. I’d just make sure to give it plenty of time to cure before you take steamy showers. You could try it on picture frame glass in here too for a few weeks/ months to see how it would stand up.
what color is the door? SW honed soapstone (so good)
That’s it yall! I really love it so much and am thankful I was willing to try it out. It was the exact right thing for this door.
You can see the process on my Instagram highlights too if ‘in-real-time’ might be more helpful for you.
Make sure to pin to share or save for later.
DIY Obscure Glass

Thanks for reading, friends!


